home
introduction
build
sva tests
links
latest updates
April 1
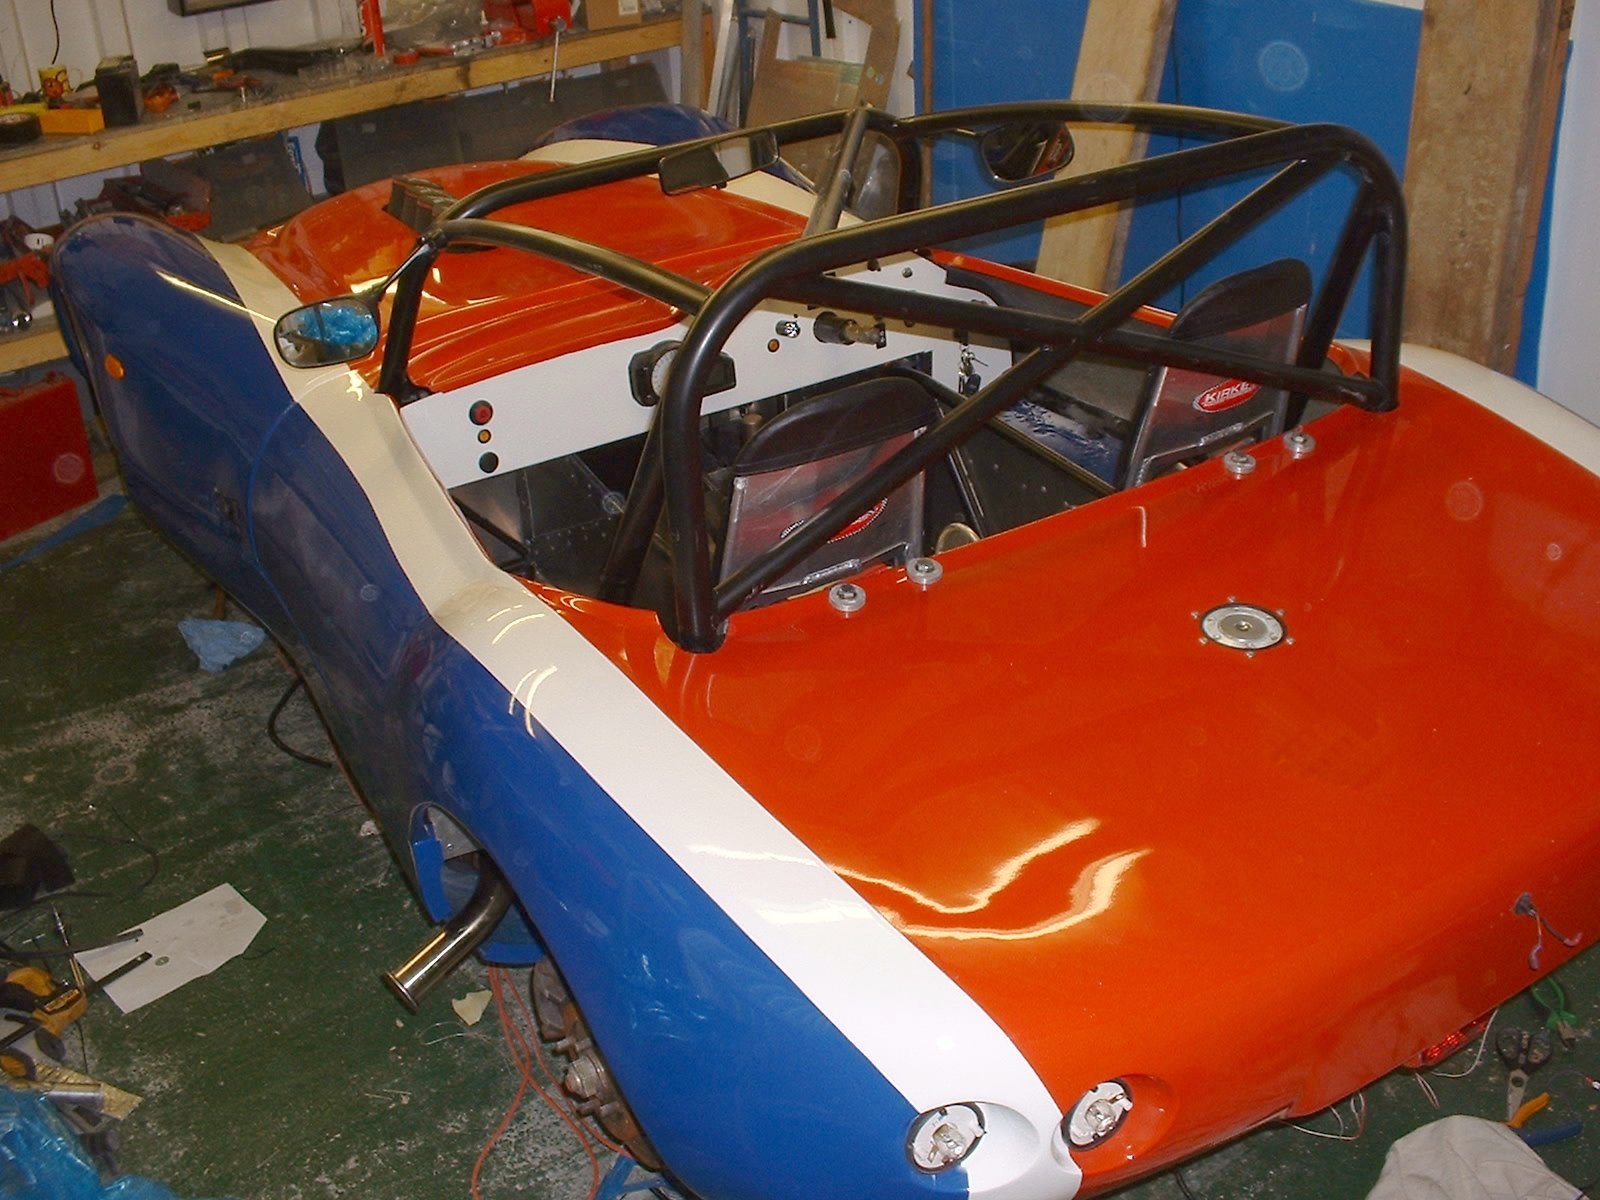
- It's painted! -
Good news from Densley Charles - the bodywork was ready for collection, round about lunchtime. Thanks to Steve for his reprise as man with van.
I spent the afternoon fitting the sidepods and the bonnet, and putting connectors onto the loom where I'd had to cut it to get the lights out.
April 2
- On and off again with the rear bodywork... -
I spent this 3 hours this morning reattaching the tub - the only hitch was that having never done a trial fit of the tub with the side impact bar in place, I'd not appreciated that the side impact bar was in the way. So I 'relieved' the bodywork (which is an emotionally detached way of saying attacked the NEWLY PAINTED bodywork with a Dremel...) and it fitted just lovely. I loctited all the relevant bolts, put nylocs on in the other places, riveted the fuel cap in place and generally did everything properly. I then had to spend a bit of time realigning the bonnet to meet the rear tub properly. So far so good.

Then I decided to test that the lights all worked...
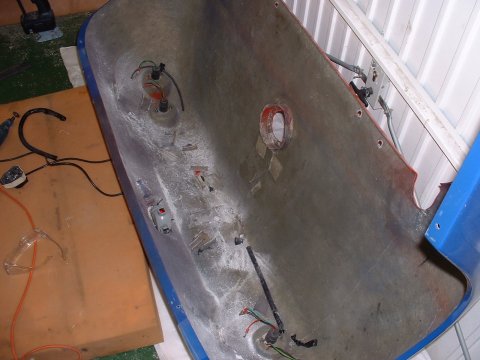
- There's always something -
To my dismay, having spent the whole morning attaching the bodywork, the rear sidelights were not working. I was completely lost as to a reason why, as they are on separate circuits, albeit with a common earth - but everything at the back shares that earth, and everything else was OK. I checked the switch (the only common thing) - fine. Fuses were fine. Power was getting to the rear most connector (on the chassis, connects into the loom attached to the rear bodywork. I eventually tried bypassing the rear loom, taking power direct to the light from the chassis connector - and they were fine. So with a sinking heart, I resigned myself to removing the rear bodywork - the entire morning's work...
Having removed it (an hour's work) I removed the loom from it and set about testing it - and found that the problem was that both sidelight wires had been cut through by a Dremel wheel. It must have happened when I had to remove the loom after the first SVA fail, to protect it with convoluted tubing. I guess that's called irony... It also means, of course, that the sidelights were not working for either of my SVA re-tests. Strange, as I am sure I would have checked them.
A bit of splicing, soldering, heat-shrinking and convuluting (and testing!) later and the loom was ready to be glass-fibred back in.
April 3
- Forwards progress again -
Glass-fibred in the repaired loom, and whilst I was in the area, I decide that it would be a really really good idea to take a spur off the brake light feed to the rear chassis connector, so that when I come to fit a high level brake light I won't have to remove the bodywork again. Genius, huh...
April 4
- Back on with the rear bodywork -
That just about says it. I tested the lights again, before doing all the Loctiting and Nylocing etc etc - still OK!
April 5
- Off with the rear bodywork - again?! -
After some finishing touches (extending the number plate light wires which were a bit too short after the loom faffing, trying some LED stop/tail bulbs that Alex had bought (rejected thought, as they are brighter for the tail lights, but dimmer for the stop lights than my currently filament bulbs), fitted some little reflectors) I got around to the final test - if I were to put the wheels on, could I drive it to get it registered?
Confidently, I turned the key and pressed the starter button. Sounds of cranking, but no firing. Tried again. Checking the clocks for an ECU fault code, I realised that the ECU was getting no power. I could feel my heart sinking as I realised that the most likely failure points were all in wiring concealed by the rear bodywork...
After much dejected wiggling of wires in various places, I decided to check the ECU itself - and to my relief found that the main connector was loose - the catch that holds it in place has broken, and obviously my recent loom binding activites had pulled it loose. I reseated the connector, bound it with a cable tie, and tried the starter again - and much to my relief the engine fired up. Phew!
April 6
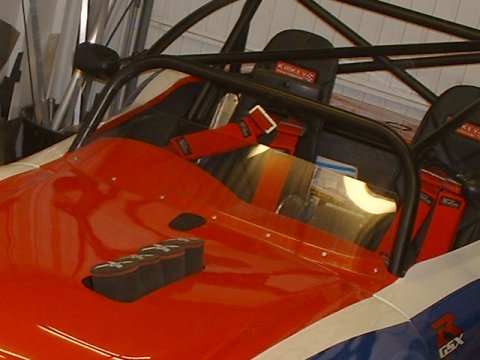
- Suzuki! -
Big day today - I stuck a Suzuki badge in the round detent in the bonnet. The Stuart Taylor Phoenix one is horrendous, and I just couldn't bring myself to use it. So my car is now badged as a Suzuki.
April 9
- Template -
Wheels on, I dropped the car to the ground and made up an aeroscreen template, in the ubiquitous blue corrugated plastic. The standard one is a little lower than I want, and doesn't extend far enough back along the sides of the car. It's also made of SVA friendly 5mm thick plastic, which means it isn't going to be very easy easy to bend around the cage. I'm keen to avoid cutting the screen around the cage, as rain will inevitably find its way along the edge of the cut (and it'll look rubbish), so I'm going to use 2mm polycarbonate to make the new bigger aeroscreen from.
April 20
- Getting registered -
OK - back from a fab holiday in Sorrento, and I've got a couple of days off, so I decide to get the car registered.
I called the DVLA in Swansea, and they arranged for the Peterborough office to call back and set an appointment for an inspection - this is nothing like the SVA, it's just to check that the car has the correct chassis and engine numbers. During the call, the DVLA man got a bit confused and insisted that a Q-plated car had to have a DVLA assigned chassis number. Clearly, this is bonkers, as the chassis needs to retain the number assigned to it by the manufacturer, otherwise they won't be able to trace it in the future. And it also would have meant a second trip to Peterborough, after getting the new chassis number stamped in by an authorised garage...
April 21
- Road legal at last -
This morning, I contacted MSM Insurance, as I needed to be insured to drive to Peterborough - Mr Policeman would definitely be interested should he happen to stop me on the way to and from the DVLA office (not that there's any policeman out on the roads anymore...) but also the DVLA require proof of insurance before issuing a registration.
And of course they won't accept a faxed copy, so that meant I had to go to MSM to collect the cover note. Handily, they're only 2 miles from Stansted Airport, and there's a regular and frequent train service to there.
3pm saw me at the DVLA in Peterborough, without incident, to see Steven Raven. He never mentioned the chassis number issue, and after 30 minutes or so of paperwork exchanging hands, I was the proud possessor of a V948 - A Number Plate Authorisation Certificate
And by 5pm I had the plates made up by Wilco, and by 7pm they were stuck on the car, along with the tax disc - fully road legal at last! And just a few days inside 2 years since I started, after 650 hours work. Cripes.
For those that like graphs, here's how much time I've spent on each part (the x-axis is in hours):
April 25
- Making an aeroscreen -
Spent a couple of hours today cutting and forming a polycarbonate aeroscreen, but it didn't go very well. I wanted to have one that went wrapped round the outside of the cage and back along the sides of the tub, but 2 things conspired against me. One is that the template and the polycarbonate bend differently around the cage, which affects the shape quite a lot - ultimately meaning that the polycarbonate wouldn't go where I wanted, or needed it too. The other fundamental problem was that the flange to which the standard aeroscreen mounts is at a much shallower angle than the cage, leading to a large wedge shaped gap between where the aeroscreen should be, and where it ends up being.
I expect that given time and proper heating and bending factilities a nice job could be done, but I've not got any of these things, so I quit the garage resolved to try something simpler the next day
April 26
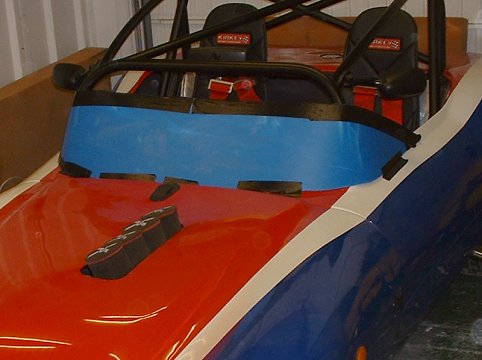
- Making a simpler aeroscreen -
It is the aforementioned next day, and I've done a simpler aeroscreen. It mounts to the flange and only extends as far as the cage. Time will show how good it is at actually deflecting air...
The picture is a bit rubbish 'cos the aeroscreen is clear, but :
This page last updated on: Thursday, Aug 24 2006
Component
january 04
february 04
march 04
april 04
may 04
june 04
july 04
august 04
september 04
october 04
november 04
december 04
january 05
february 05
march 05
april 05
may 05
june 05
july 05
august 05
november 05
december 05
january 06
march 06
april 06
august 06