home
introduction
build
sva tests
links
latest updates
August 15
I was pottering about in the garden today, when I found a door at the bottom that I'd forgotten was there. But it was locked! If only I had a key. But wait! I remember seeing a key the other day when I was gazing wistfully into the wishing pool. I fished it out, and with breath baited I tried it in the door. It fitted - what marvels would I find inside this mysterious place...
Nervously I pushed the door gently open, to be confronted by what looked like a half built car. How did that get there? And why are so many parts missing? They all look like important ones as well!
What a jolly fun mystery this was shaping up to be...
The most obvious little task was to take Billiam the Burninator at his word at fit the 6mm rubber hose fuel breather hose onto the 8mm T-adaptor by heating it up in boiling water. Gosh darn it, the kid was right - it fitted!
As the spirit of adventure gripped me, I smacked the breather pipes round with a medium sized persuader into a better position. The ali didn't crack, creak or whinge, so most satisfactory.
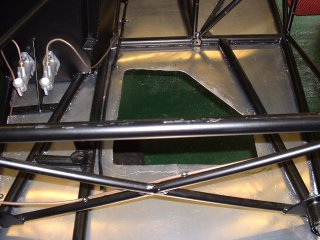
Next job was welding on the little bits of angle that will stop the fuel tank sliding sideways under cornering as 10 gallons of fuel (that's 12.5 gallons to you Yankee Doodles) slam from side to side. I'd earlier in the day welded up a jig that will eventually enable me to grind down the shims for my VHPD engine, so I was full of welding confidence.
Now, I know that being able to weld two things together isn't exactly the rarest of skills, but as this is my first ever weld, y'all gonna get a picture...
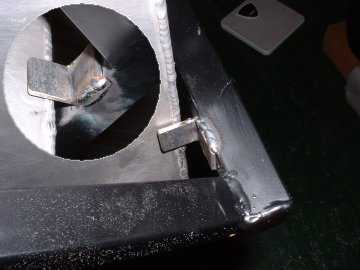
There's no picture of the other side, because it didn't go as well - the wire speed gauge got knocked to maximum by the gas tube thing, and within a microsecond of firing the arc I had a heeuge blob of metal just sitting there. In imagination, it was grinning cheekily back at me.
As I was faffing about in the garage anyway, I spent a bit of time releaving the holes in JB7's offside wheel spacer. The hub has a slight intolerance that means when the spacer slides over the studs it slightly forces them out, which in turn means the wheels won't fit over them anymore. All the spacers gave the same problem, so I picked one of them and made the stud holes a bit bigger with a file.
August 16
- Some parts arrive -
Not Ian's of course  But still there was much excitement today - I received my fuel sender from Fozmula, and the dry sump kit from Extreme Engines. No pictures as yet, as I didn't have a big enough bag to bring everything home with me on my bike. The fuel sender is going to take some figuring out how to fit it, but I stopped worrying about it as I unwrapped the sump - it's sooooo shiney
August 19
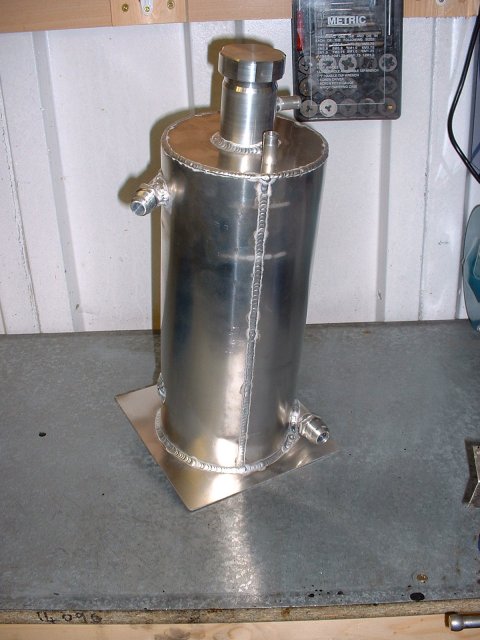
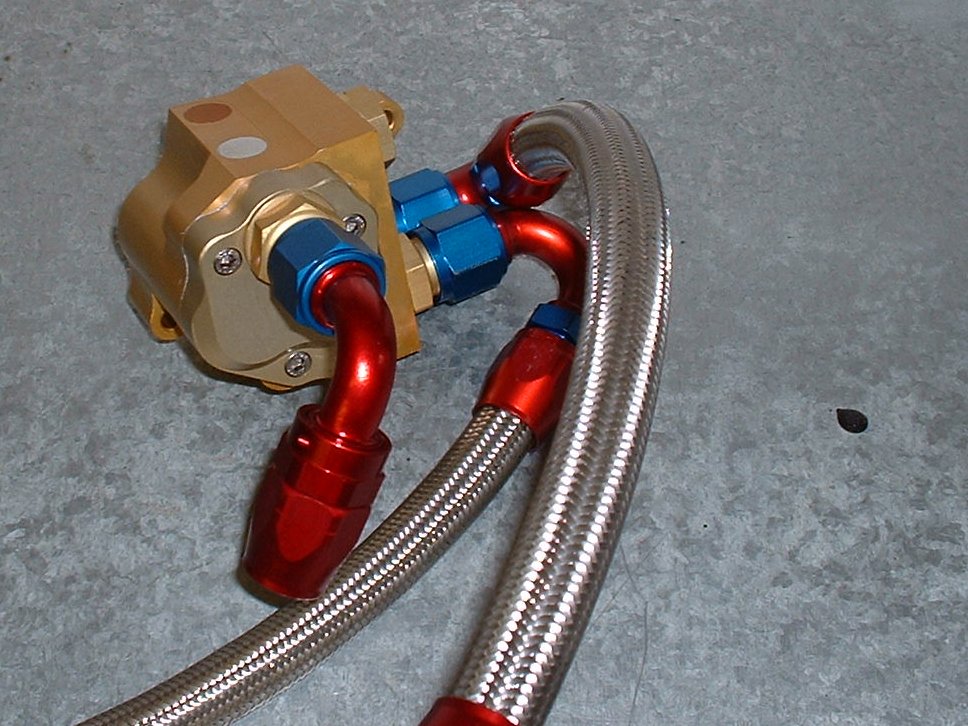
- Sump pictures -
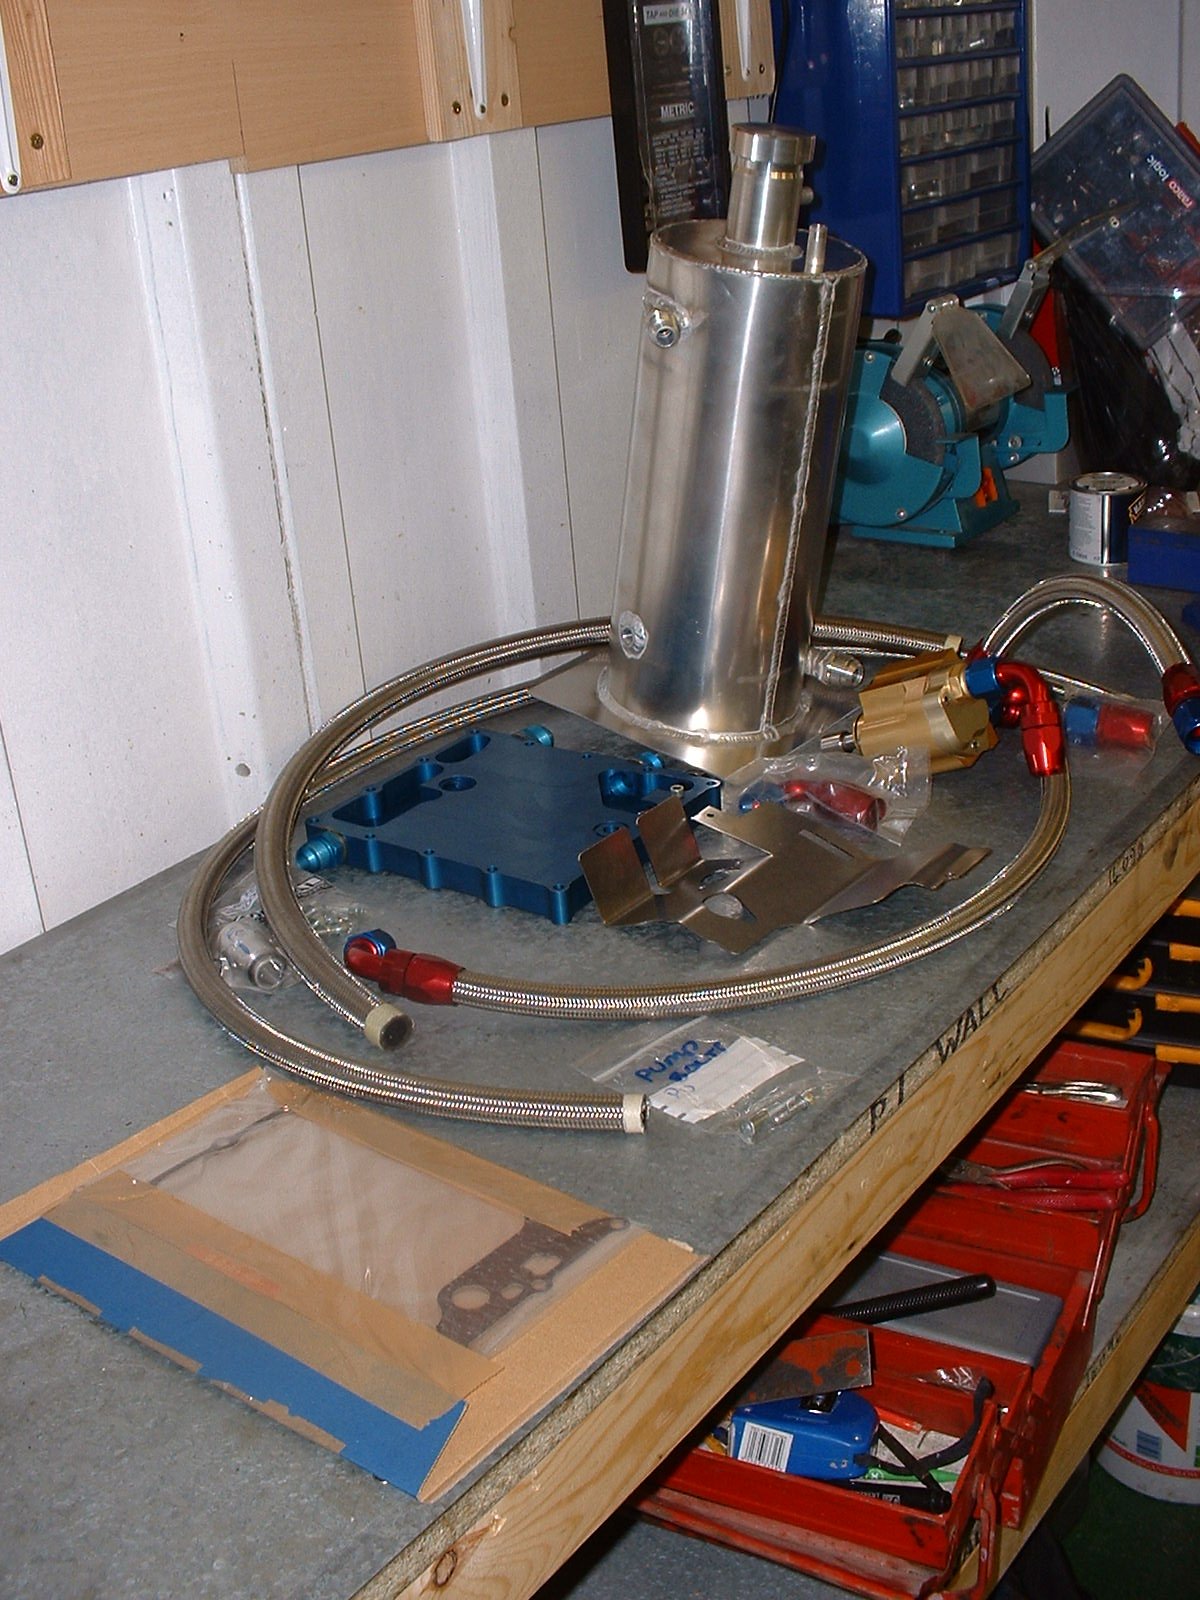
No build progress today, just some pictures of the sump kit from Extreme Engines.
 |
 |
 |
 |
 |
|
 |
 |
August 21
- Fitting the sump -
Karl (MD of Extreme Engines) said he had done everything he could to make this an easy install, and it certainly was. Everything fitted perfectly, and I didn't even have to figure out which hose went where as he'd already made up and attached the scavenge hoses. The only outstanding work now is to make up the hoses for the tank supply and return, but I can't do that until I've got the engine and the sump tank in the car and I can't do that without the engine cradle.
For the record, the procedure was:
 | Remove the old sump |
 | |
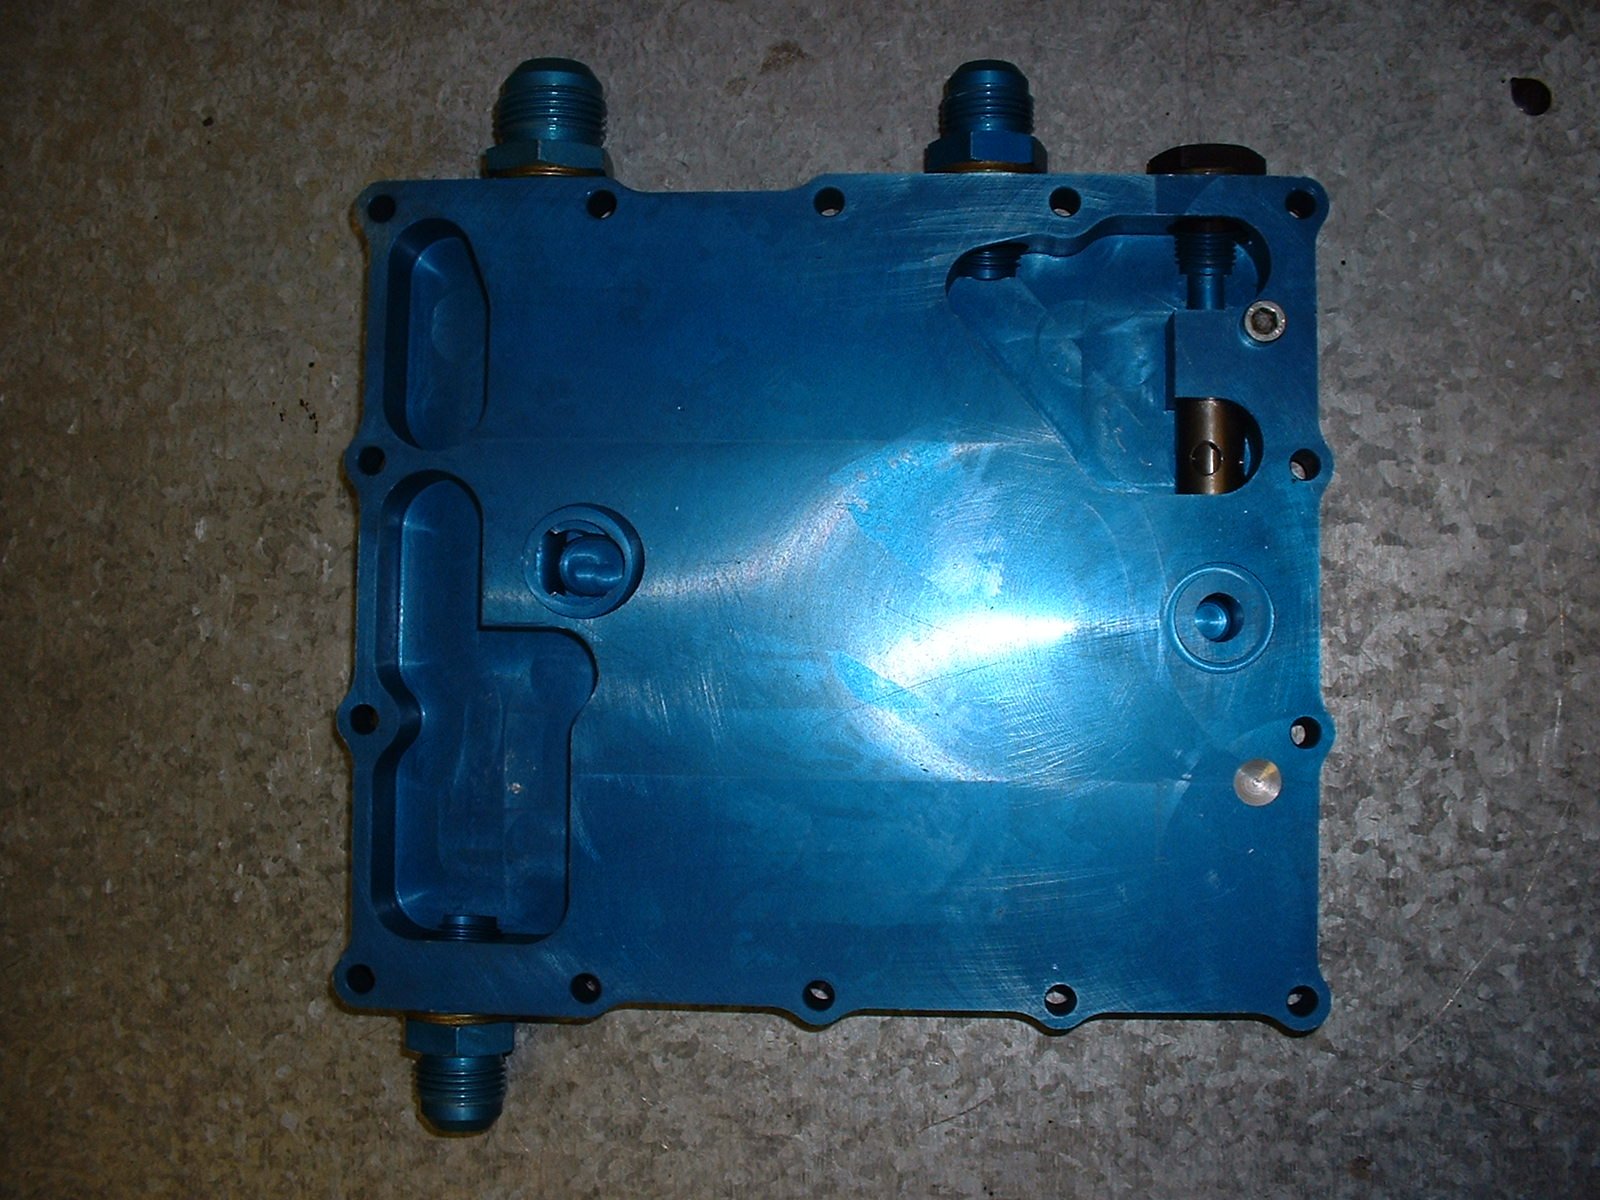
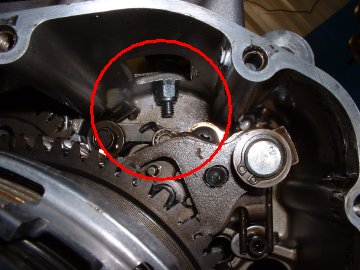
 | Fit the baffle. There was a slight complictation here in that the hole in the engine casing where the shallow wet sump's baffle plate had mounted (red circle above) was a couple of mm off from where the hole was drilled in the new baffle plate, so I had to elongate the hole in the plate a little bit. Karl advised that the hole in the casing should be tapped for an M5 bolt (with a dollop of grease underneath to catch the swarf). As I investigated doing this, I felt around on the underside of the hole and found little bits of swarf from when it had been drilled before (not by me!) and not cleaned up, which didn't please me a lot. |
 | In the end, I couldn't get the tap to take in the hole, so I stuck a Nyloc on the end of the bolt and torqued it up tight. |
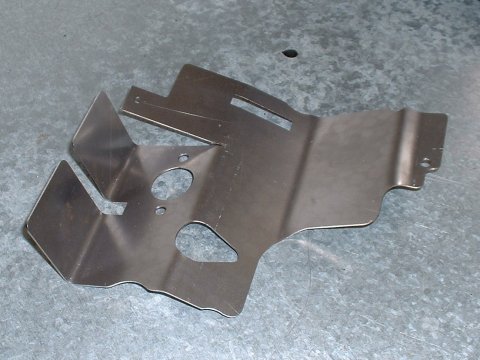
 | Baffle plate screwed down, and gasket in place. I scraped off the remains of the old gasket, and cleaned up the surfaces with carb cleaner. The new gasket is a standard one, but cut down to clear the features of the sump. |
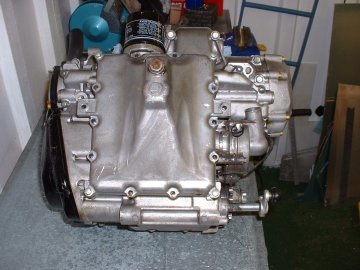
 | Sump complete, with pump. The PRV on this sump sits horizontal inside the pan, rather than vertical from the engine casing. An o-ring seals the sump to the old PRV point, so I stuck this in it's groove with a smear of grease. The old oil pickup pipe/sieve (which I don't have, and I presume is therefore sat on a shelf somewhere at STM) is replaced with a straight pipe from the pan up to the engine with an o-ring at each end, and after a bit of fiddling about, I concluded that because of the relative angles of the pan, engine and pipe, the easiest way to get everything to seat when you offer the sump pan up to the engine is to fit the pipe to the pan rather than the engine. The sump pan bolts are torqued up to 8ft.lb, and the job's done. |
Fitting the pump was even easier - take out the 2 bolts holding the water pump in place, remove the water pump, clean everything up, put a smear of grease on the oil pump o-ring, and slide it into place.
Having threadlocked the pump bolts in place, I realised that the only way to get the fitting for the sump's oil feed pipe in place would be take the pump off, but never mind, eh.
Another thing I realised was that the 120° fitting on the pump for the scavenge from the far (right) side of the engine sticks out lower than the sump, so I'll need to take considerably more care than usual when man-handling the engine around the garage.
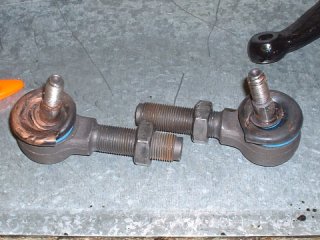
- Prop adaptor -
Whilst I was in the area, I thought I'd fit the propshaft adaptor. However, it seems to be the wrong size, as the splines on the adaptor don't match up at all with those on the output shaft. Perhaps Ian has given me a Fireblade one by mistake. I'll give him a call on Monday.
- Engine weight -
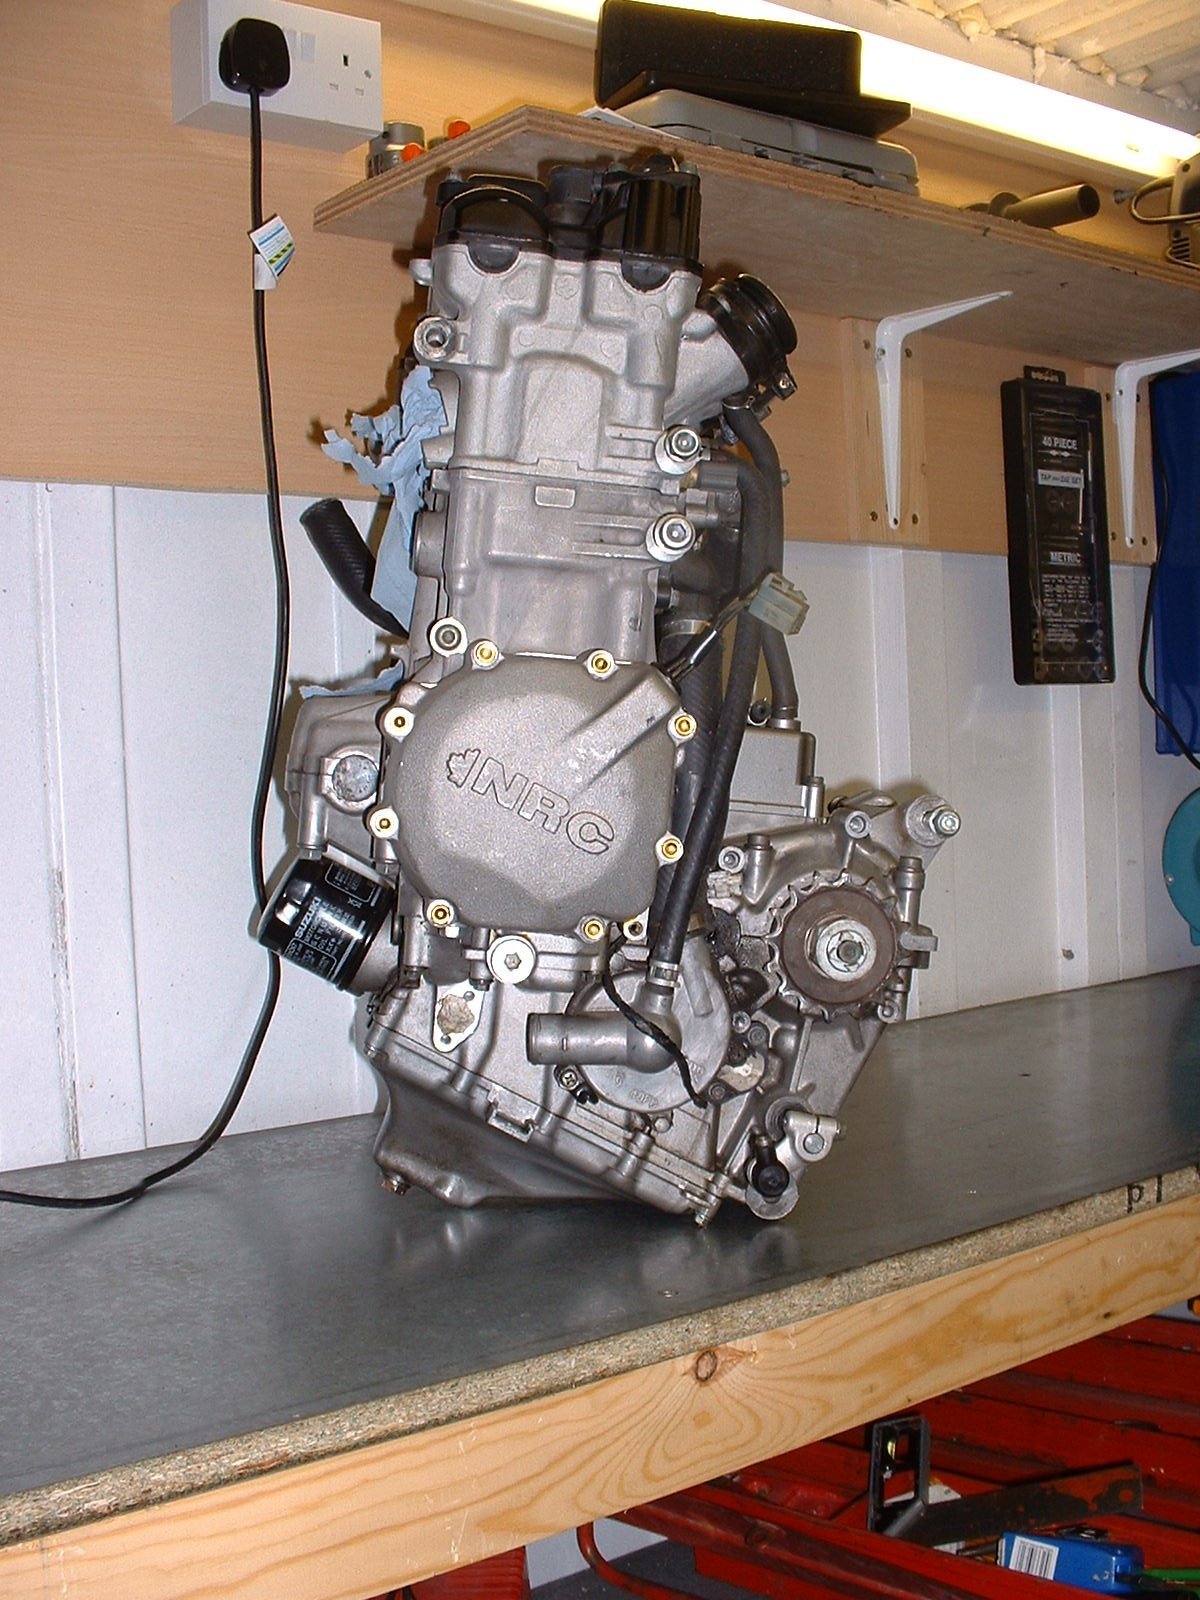
I got around to weighing the engine today. Tricky to do with a set of bathroom scales limited to 135kg and no assistant, but a figure of 63kg seemed to be a repeatable value. That's without the throttle body assembly and airbox.
August 26
- A delivery... -
Today, Ian's stuff arrived! Engine cradle, steering rack mounts, and, erm. Well, another pair of driveshaft shafts, and some CV joint boots. Looks like if I want a complete set of driveshafts, I'll have to get them myself.
August 27
- Finding some driveshaft bits -
Today, the Mighty Hackett and I went off in search of a scrapyard, to find some driveshafts. In retrospect, I was slightly under-prepared, as I didn't know where the scrapyard was, and didn't know what I wanted when I got there Still, life is full of little challenges, and we eventually found one on Red Lodge, and stripped a couple of tripode type driveshafts off a clean looking 1.6 Sierra. We also 'picked up' a handbrake lever for Dan Bromilow.
August 28
- Finding some driveshaft bits -
Stripping down the driveshafts revealed a problem. The CV joints are too small to fit on the shafts that Ian has supplied. I guess there must be a different size of Sierra shaft available, or I should have been looking for shafts off somehing else 
- Engine in, engine out, engine in, ... -
With Alex's help, I spent a bit of time lifting the engine in and out of the car. Initially the idea was to cut a 1.5" hole in the right place for the sump pump pipe to stick out, but it became clear quite quickly that the new sump, even with the new cradle, needs to stick out under the floor a little bit. The hole became bigger and bigger and bigger...
August 29
- Engine in, engine out, engine in, ... -
The Mighty Hackett, bless his cotton socks, was able to come round and help again today. We lifted the engine in and out a few more times, made the hole a bit bigger, and had a thinking session about the adaptors needed for the low pressure feed to the sump - it was clear that the 90° fitting that Karl had supplied wasn't going to clear the pedal box, and a 45 ° fitting at the tank end might make life a bit easier as well.
- Let's split -
I noticed recently that the lower ball joint boots on the front suspension had split. This despite the car not having even been on the ground, never mind turned a wheel in anger.
A call to Ian, and he said that he sometimes ground the bottom of the uprights away at an angle to alleviate this.
So I guess I'd better do the same...Here's a before and after
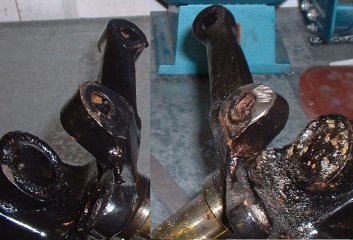
Oops look at that rust peeking through - me thinks I forgot the 2nd coat of POR-15 on that one...
Ian's offered to swap the joints for some new ones, as he can use the old ones on a race car, where Mr SVA man won't care. For the record, they're off a Sherpa.
August 30
- Finding some driveshaft bits -
Spoke to Ian, and there are indeed 2 sizes of Sierra shaft (excluding the Lobro type). He wasn't sure of a way to identify them for sure except that the one's I need are the bigger ones. In a susbsequent chat with Dan Bromilow, he reckoned that the larger shafts were used on 2.0l Sierras.
This page last updated on: Thursday, Aug 24 2006
Component
january 04
february 04
march 04
april 04
may 04
june 04
july 04
august 04
september 04
october 04
november 04
december 04
january 05
february 05
march 05
april 05
may 05
june 05
july 05
august 05
november 05
december 05
january 06
march 06
april 06
august 06