home
introduction
build
sva tests
links
latest updates
Choosing the chassis
- Early January -
Well, not so much choosing the chassis, as choosing what modifications to have. Having chosen the Freelander diff, it was clear to me that I was either going to have to ask STM to adapt the standard chassis to take it, or to use some sort of adaptor plates like Westfield do - these are horribly heavy, and not, to my mind, a very elegant solution to the problem. BECs need to be light, and throwing a few kilos of steel into the mix just doesn't seem the right way to go.
The other adaptation, or addition, that I wanted was to have a permanent rollcage. This would stiffen up the chassis; protect me if I rolled, or drove off another cliff  ; and, most importantly of all would provide me somewhere secure to attach my mountain bike
  . A final benefit is that it would provide somewhere to bolt some driving lights - I really hate not being able to see properly at night.
Then - a miracle! I noticed on the website that the new '04 race chassis was being developed to use the Freelander diff, and had a permanent rollcage. Not only that, but the chassis are to be built from round tube to reduce weight, and the rollcage and side impact protection are to be built from T45 to further reduce their weight. Whether or not I ended up with that particular chassis (it seemed unlikley that I'd be able to afford it) then at least STM now had some experience of the adaptations necessary to accomplice both my goals.
- February 10 -
I quizzed Ian about the new chassis. It turns out to weigh about the same as the old chassis as they've put extra triangulation in, but it had been designed from the outset to be bike engine friendly, and the engine bay braced under the assumption that the engine would be a bike engine - i.e. small! As to the price of the new chassis, he said that it wouldn't actually be much more than a standard chassis, especially as it had a built in cage. When we got down to the nitty gritty, their standard Chassis pack is £1600, and a roll cage, by my estimation, would be circa £500 - a total of £2100. The new chassis pack would be £3000. Yeouch.
But I couldn't turn it down, of course.
Just as I was leaving, it occured to me that I should check that I would actually fit inside the Phoenix - it is very, very tiny. I sat in the most complete car they had, and it was immediately obvious that it was only just big enough - fortunately I like a driving position with my knees high and close to the wheel, otherwise it would have been a no go. Ian also observed that with a helmet on, the roll cage wouldn't be high enough, and said he'd get an extra 3" added into the one they got made for me. I'm glad I checked! (Ignores incredulous mutterings from the reader)
It wasn't till I got home that someone pointed out that having a chassis designed to be only 3" from the ground wasn't necessarily the smartest move for a road car . We'll just have to see, won't we. The 21 was higher than that, but had a scoop, sump and exhaust height of around about 3" or less, so I should be OK. I should be OK. I should be OK. <repeat as necessary/>
2nd visit to STM
- Mar 16 -
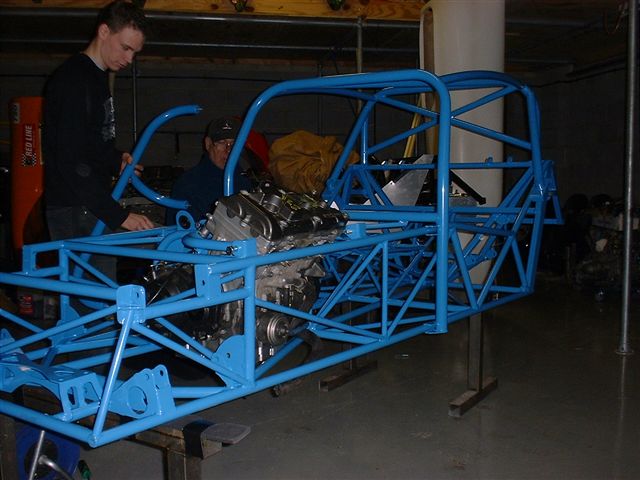
My chassis is due today, but it's not ready - Ian has been busy trying to get the 4 race cars ready in time for the opening RGB race of the season at Donnington. So, I've popped up anyway, to take a look at the race cars, take some pictures, and drop off some other bits.
Collection time
- April 30 -
IanG has done a trial fit of most of the easily attachable bits to check that it fits, so when we first see the chassis it's already got quite a few bits on it:
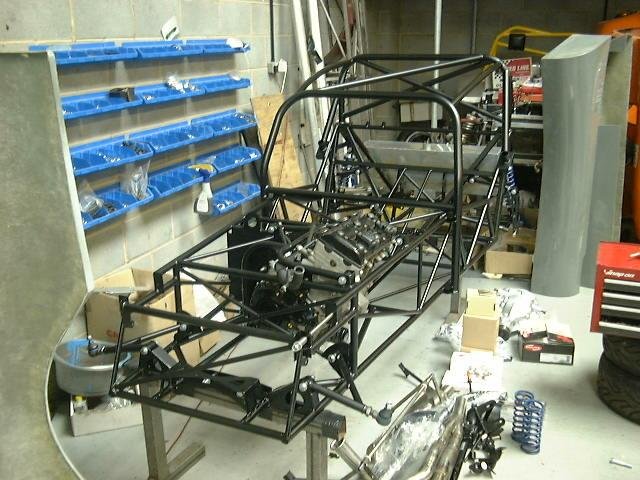
fitting the side impact bar
- December 10 -
Well, this went pretty well. The side impact bar mounts in 3 places, and it was simply a matter of drilling holes in the mounting plates and bolting in on.
The only minor complication was that the dash needed cutting away a bit, but since I'm making a new dash soon, I didn't worry too much about doing it prettily.

Then of course I remembered that I'd need a hole in the sidepod for the bottom leg of the side impact bar to go through. To my considerable surprise I got this in exactly the right place, first time.
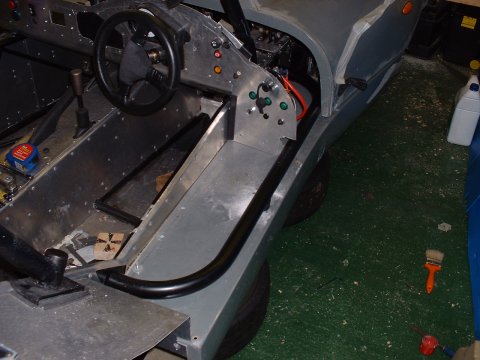
Bit of painting here, bit of welding there
- March 28 -
I never got round to painting the bonnet hinge before the SVA, so I did that today, as well as the turret holding the center bonnet catch pin. 'citing this, isn't it... I did have to do a bit of welding and grinding as well, but we'll not go into the details of that here.
This page last updated on: Sunday, Jul 16 2006
Date
aeroscreen
body
boot
brakes
chassis
cooling
clutch
dashboard
electrics
emissions
engine
exhaust
final drive
fuel system
gear shift
lubrication
mirrors
panelling
propshaft
reverse
seats
steering
suspension
throttle
trim
wheels
garage